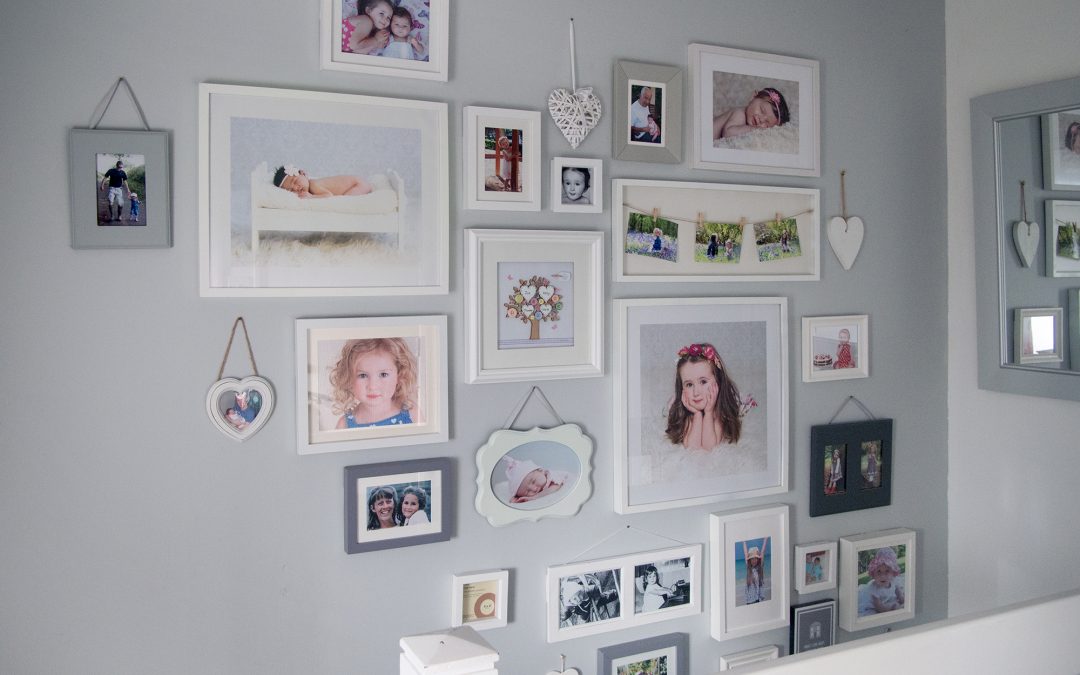
A photo wall is a great way to display all you family photos in one place. A wall full of memories that can take you back to a favourite holiday or moment in time. I am going to share with you my own photo wall, why I love it and my top tips on how to create your own.
Why create a photo wall
I first made my photo wall 3 years ago, it wasn’t easy, it did take me about 6 months but worth it. I got to the point where I had so many photos I wanted to display but didn’t have the space. A photo wall was a great way to display lots of photos in one area, as well as making it a stylish feature.
Lets think about what our photos do for us. They tap into our emotions, usually joy, pride, happiness or laughter. These are triggered when we take the photo, when we look at them and when we share. But then they are forgotten about, we move on to the next day, the next photo. Why not print those special, real magical photos, display them and re live those feelings over and over again. Thats what I am passionate about and my reasons for encouraging people to print and display their photos.
What photos to use
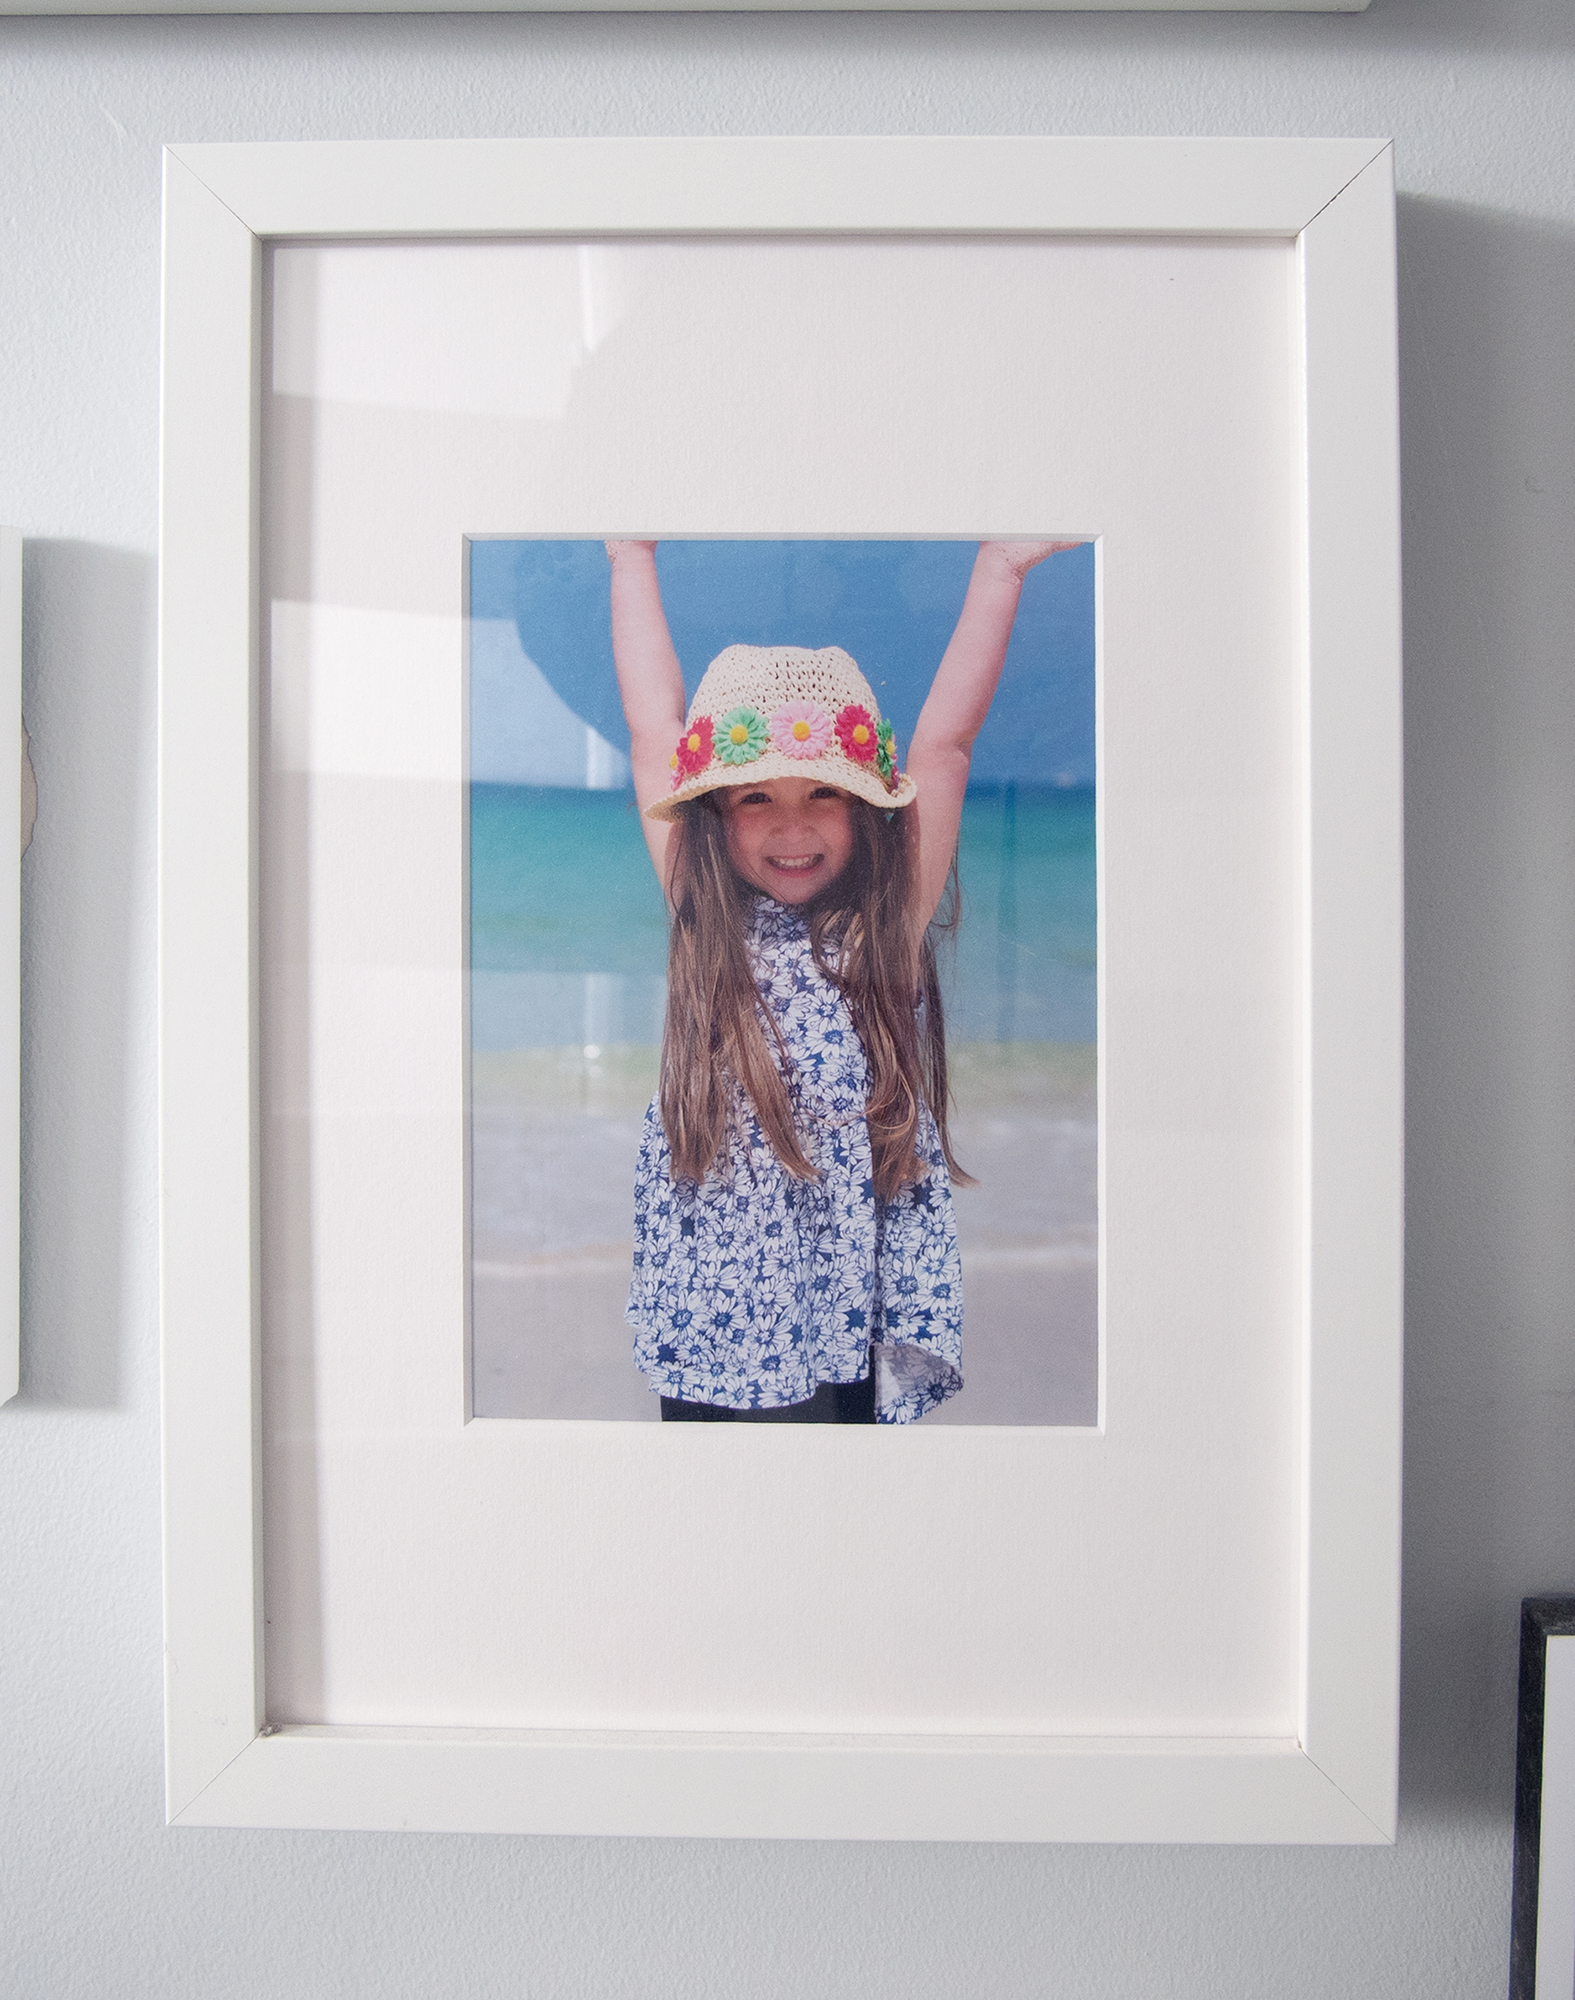
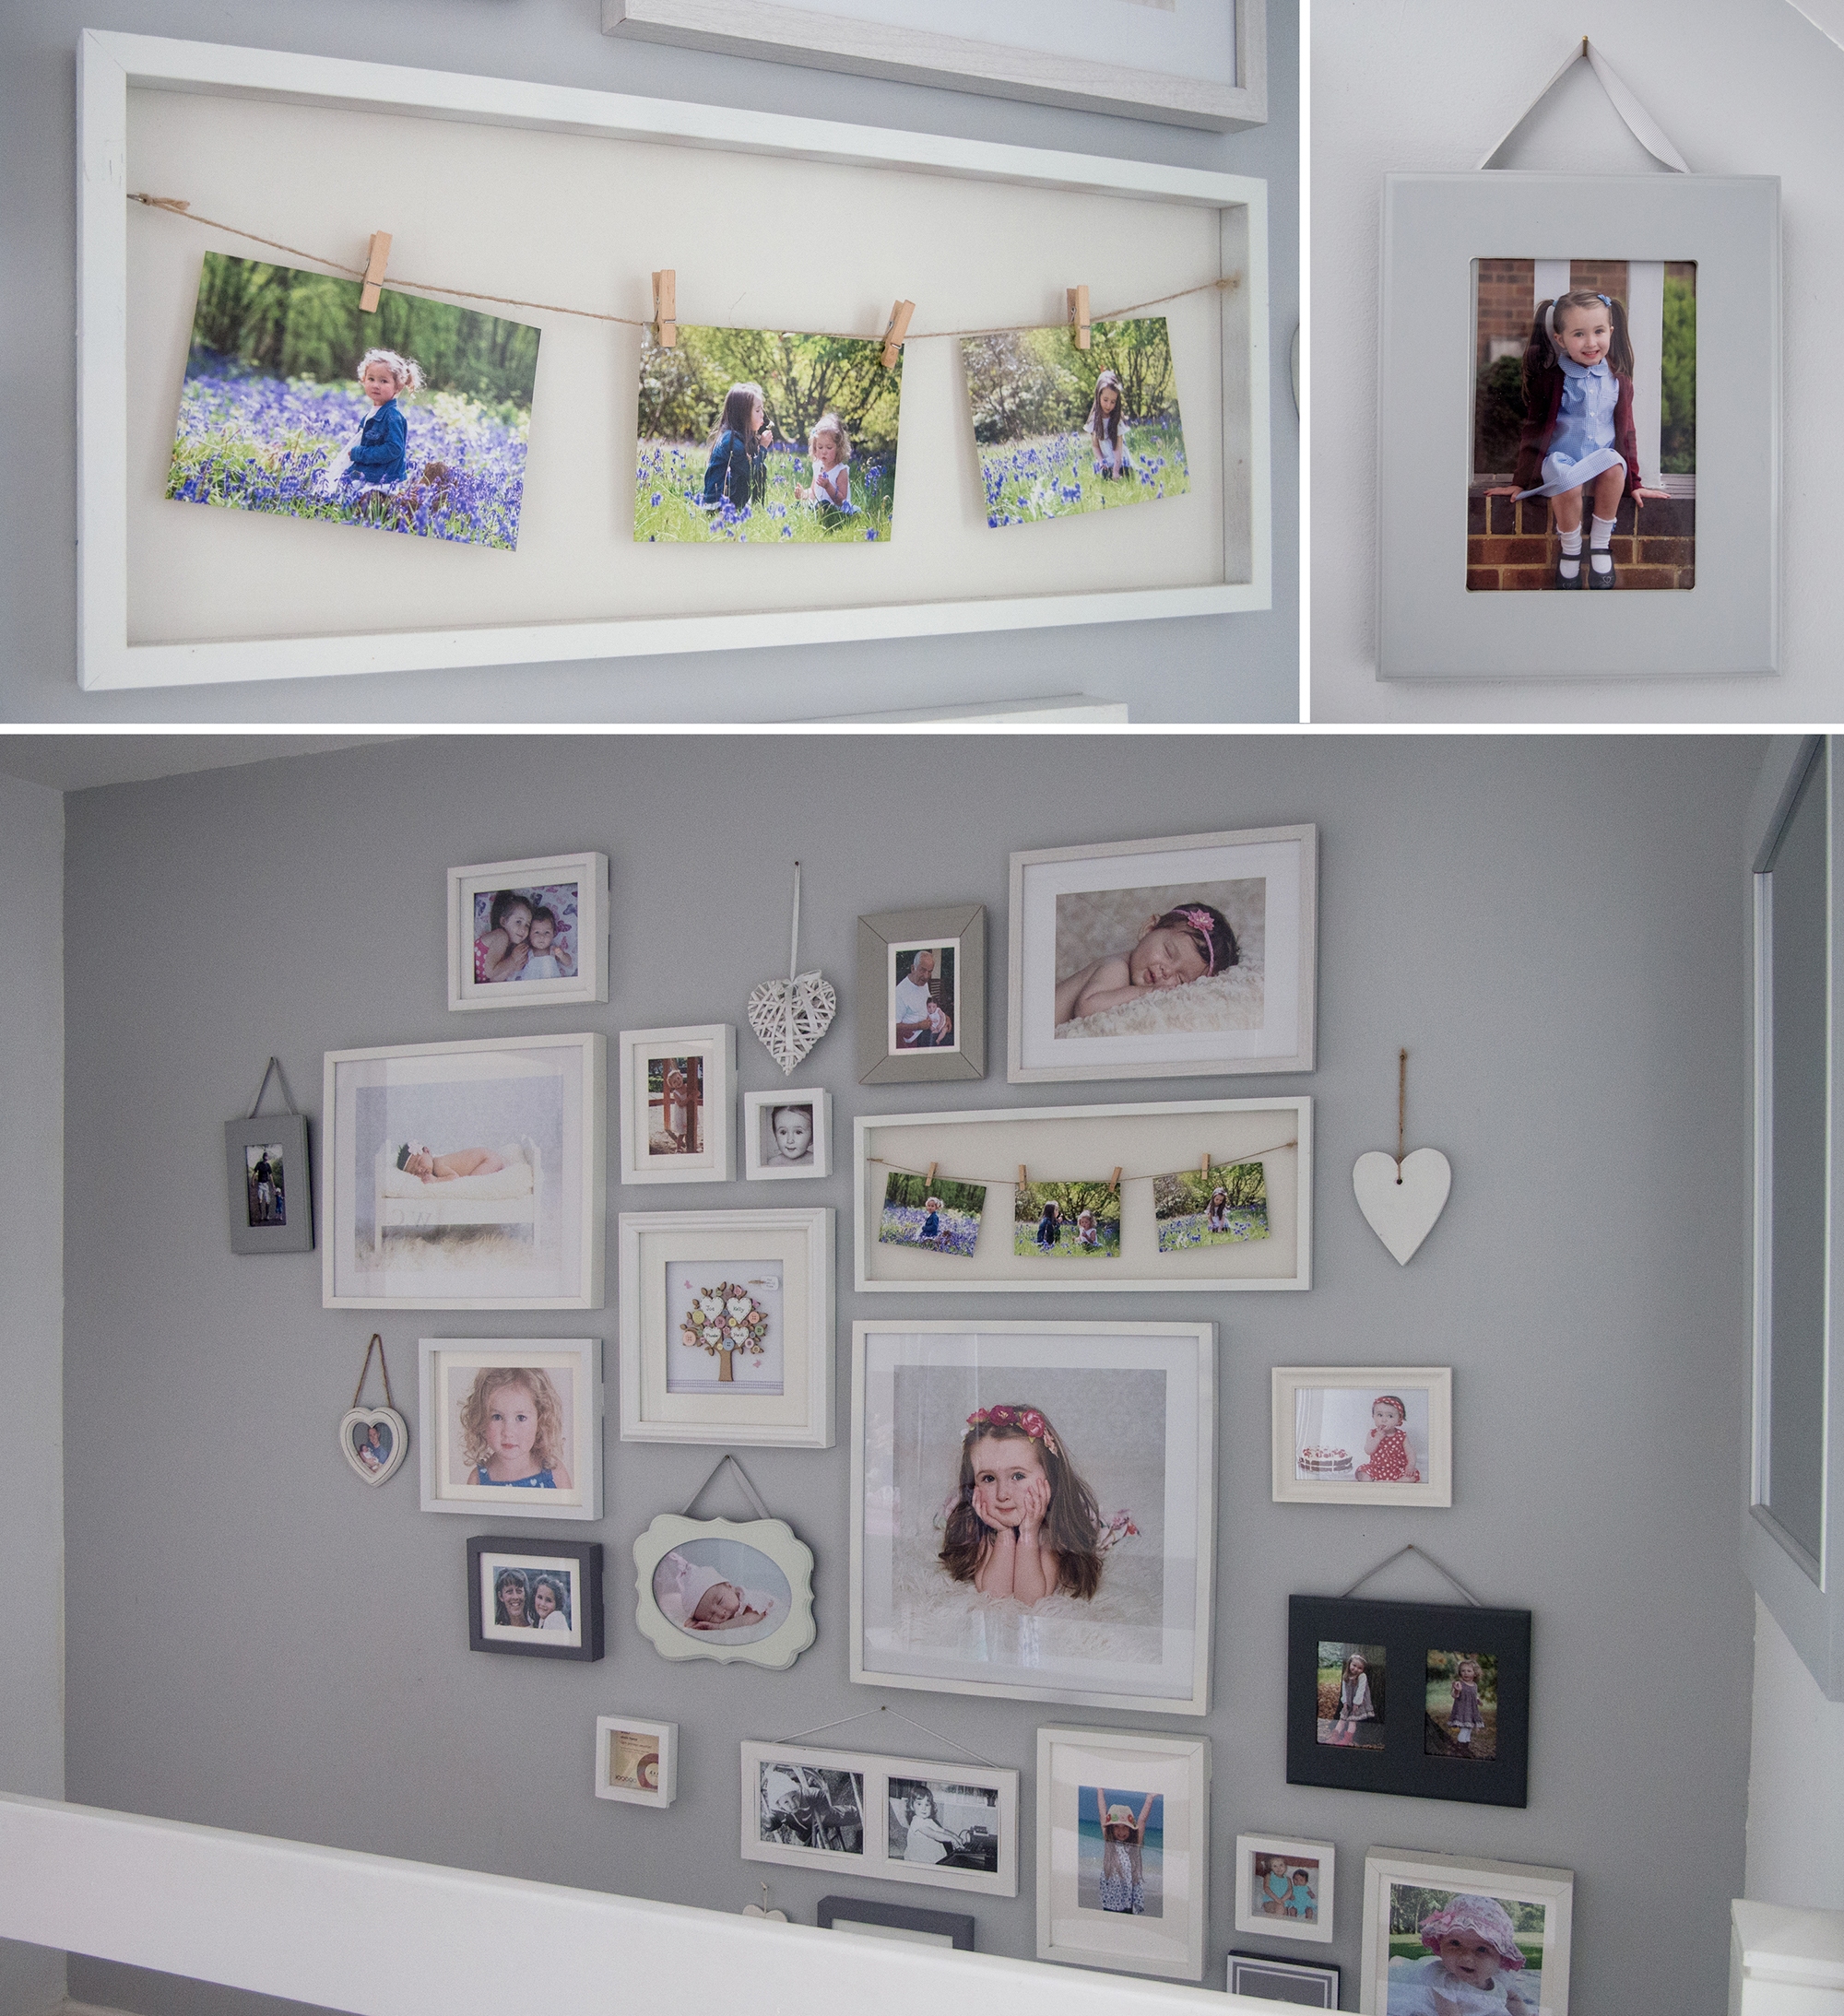
My photos wall contains photos of my children when they were born, when they were toddlers, up to the day they started school. I also have me and my husband as toddlers and me with my parents and grandparents, which my children love to look at. I have family members that are no long with us, it helps us talk about them and keeps their memory alive. I carefully chose photos that hold great memories. I have one of my daughter on our favourite beach in Cornwall – I can still smell the sea, feel the breeze and remember the amazing holiday we had.
That is what photos are all about, transporting us back to our favourite moment. I love looking back at my old family photos when I was a kid and remembering my childhood.
Choosing frames
Choose frames that match your style and decor. My photo wall is on a light grey wall which runs up our stairs, so I chose white and grey frames. I chose a mix of modern and vintage style, different shapes and sizes. But if you prefer, you can stick to the same frame style and just vary the size. I got my frames from Dunelm, The Range and Ikea.
Personalise your photo wall
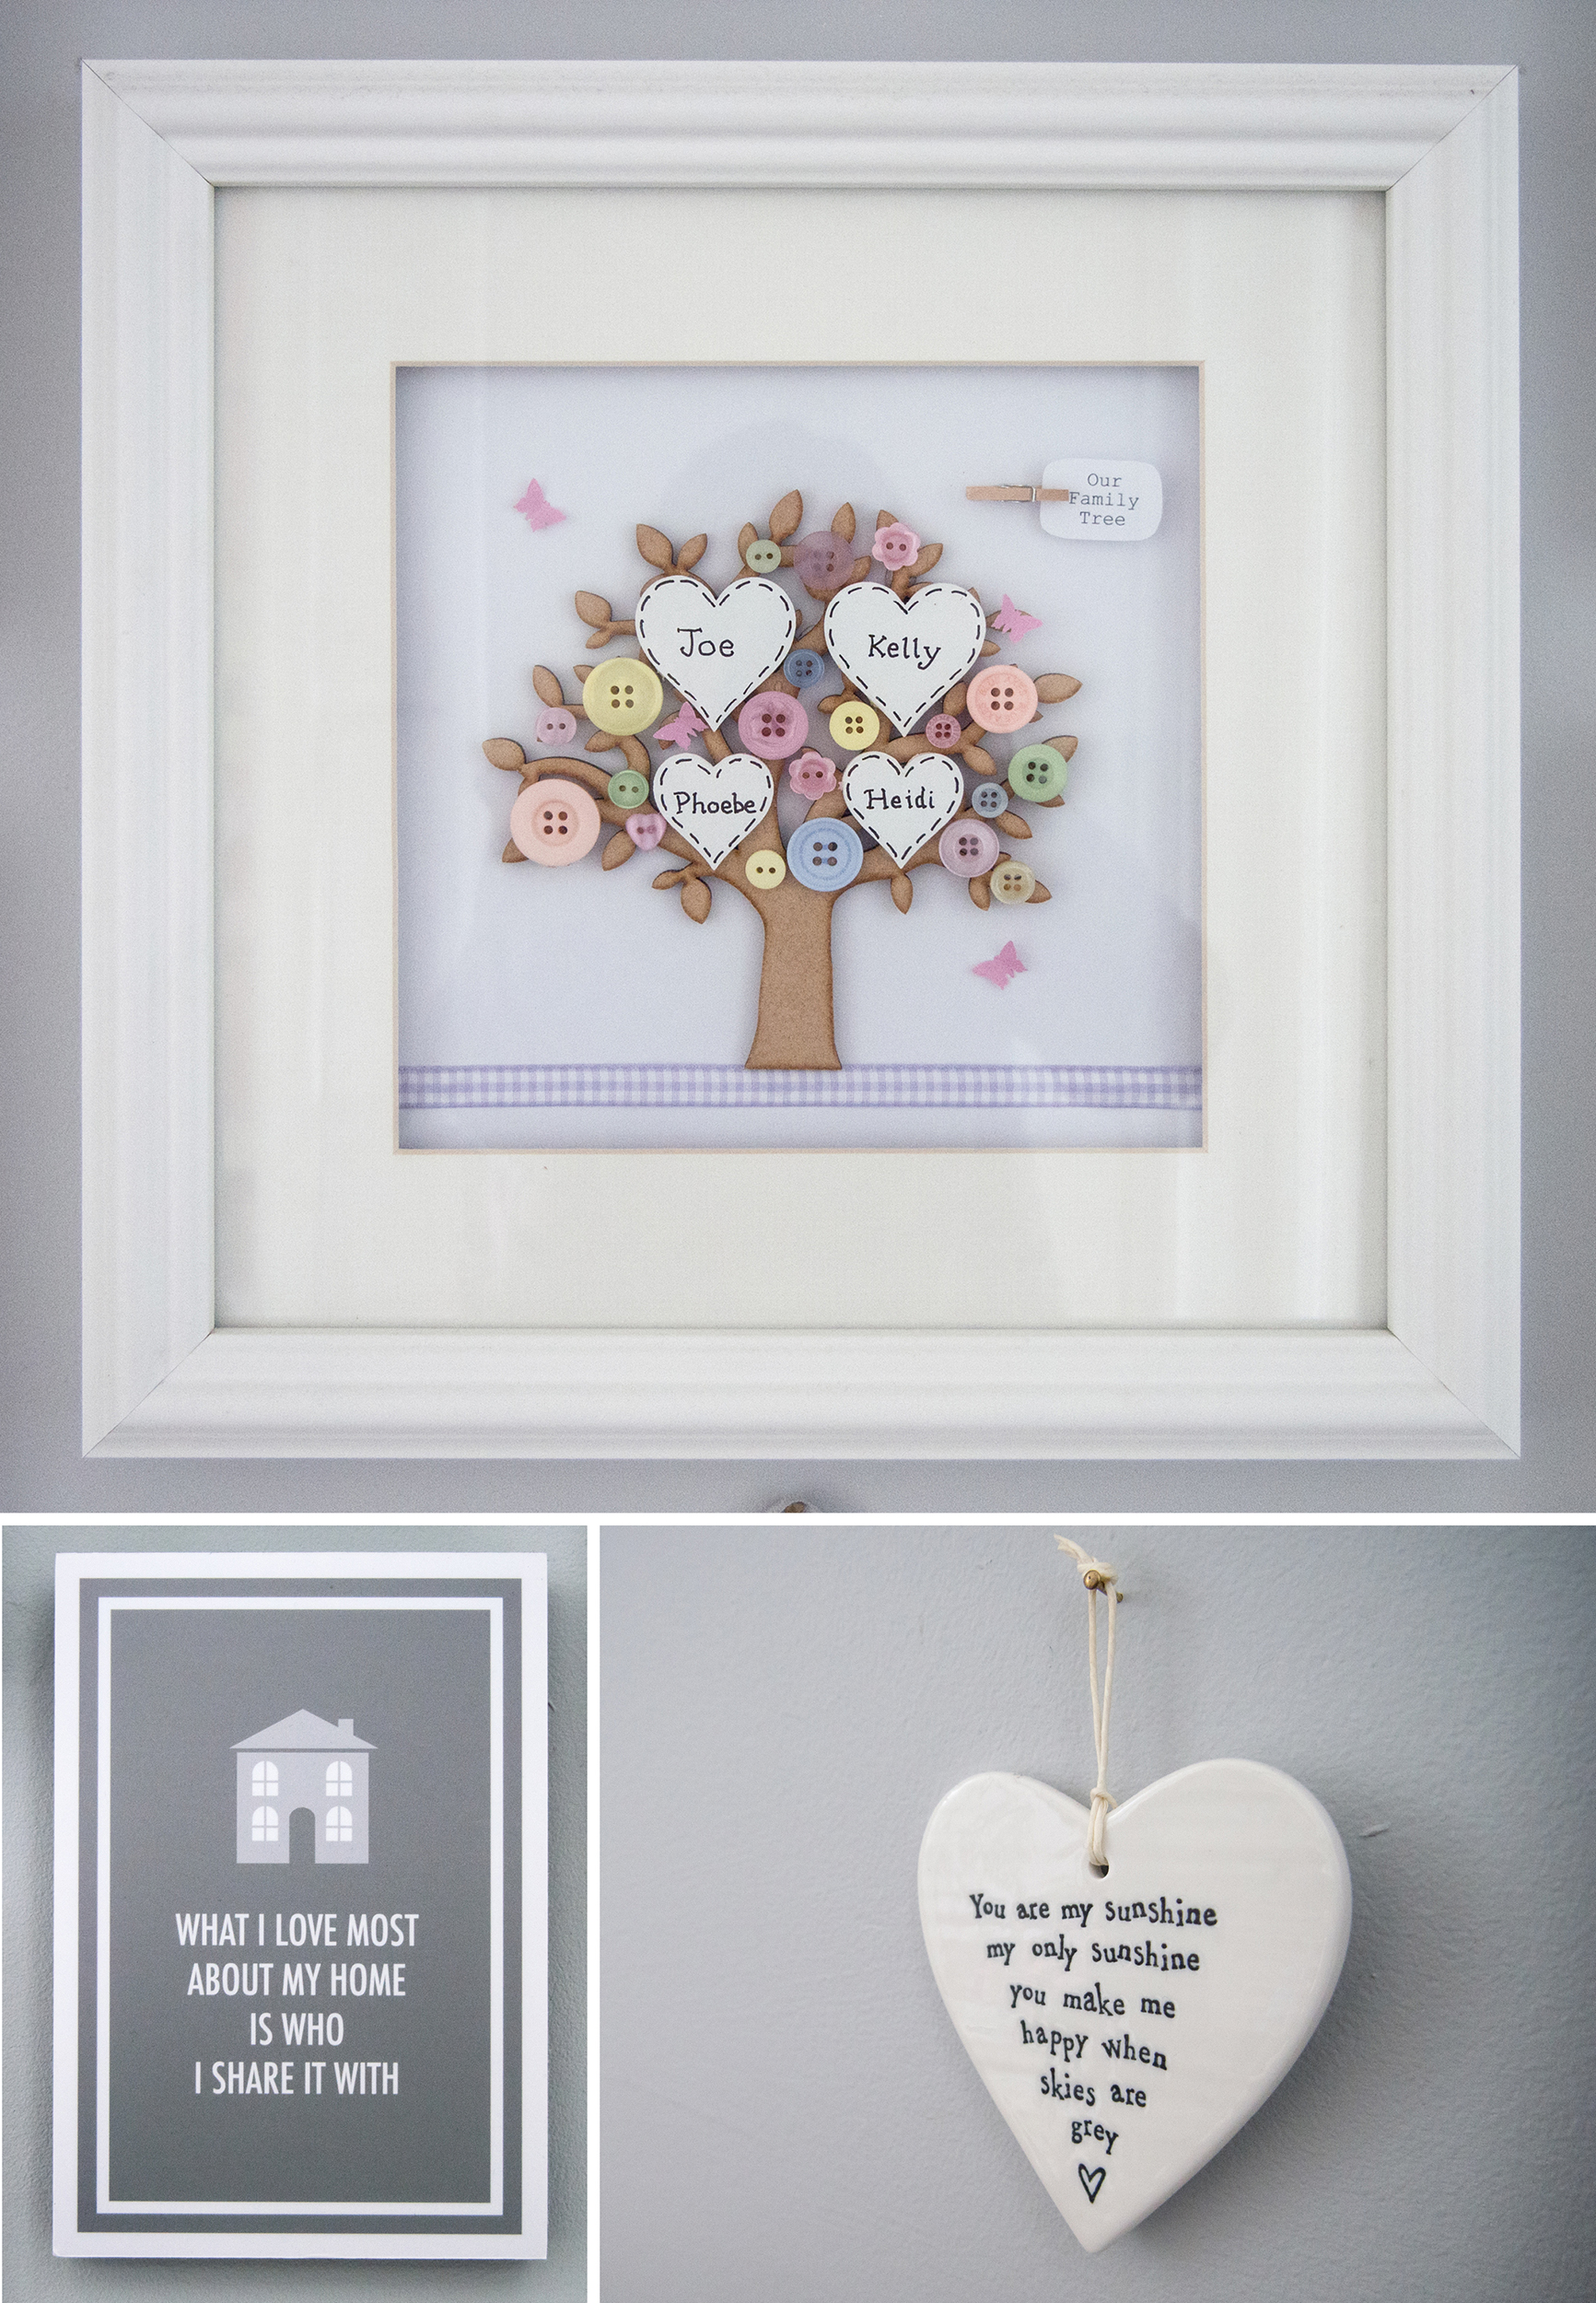
You can personalise your wall with anything you want. Quotes, hearts, you could even frame your childs artwork. You could choose a theme, maybe coastal and collect driftwood to hang around your photos. There are lots of great ideas on pinterest. I made a family tree which hangs proudly in the middle of my wall. I also chose a beautiful hanging heart with the words of a song I sang to my children when they were babies.
How to design your photo wall
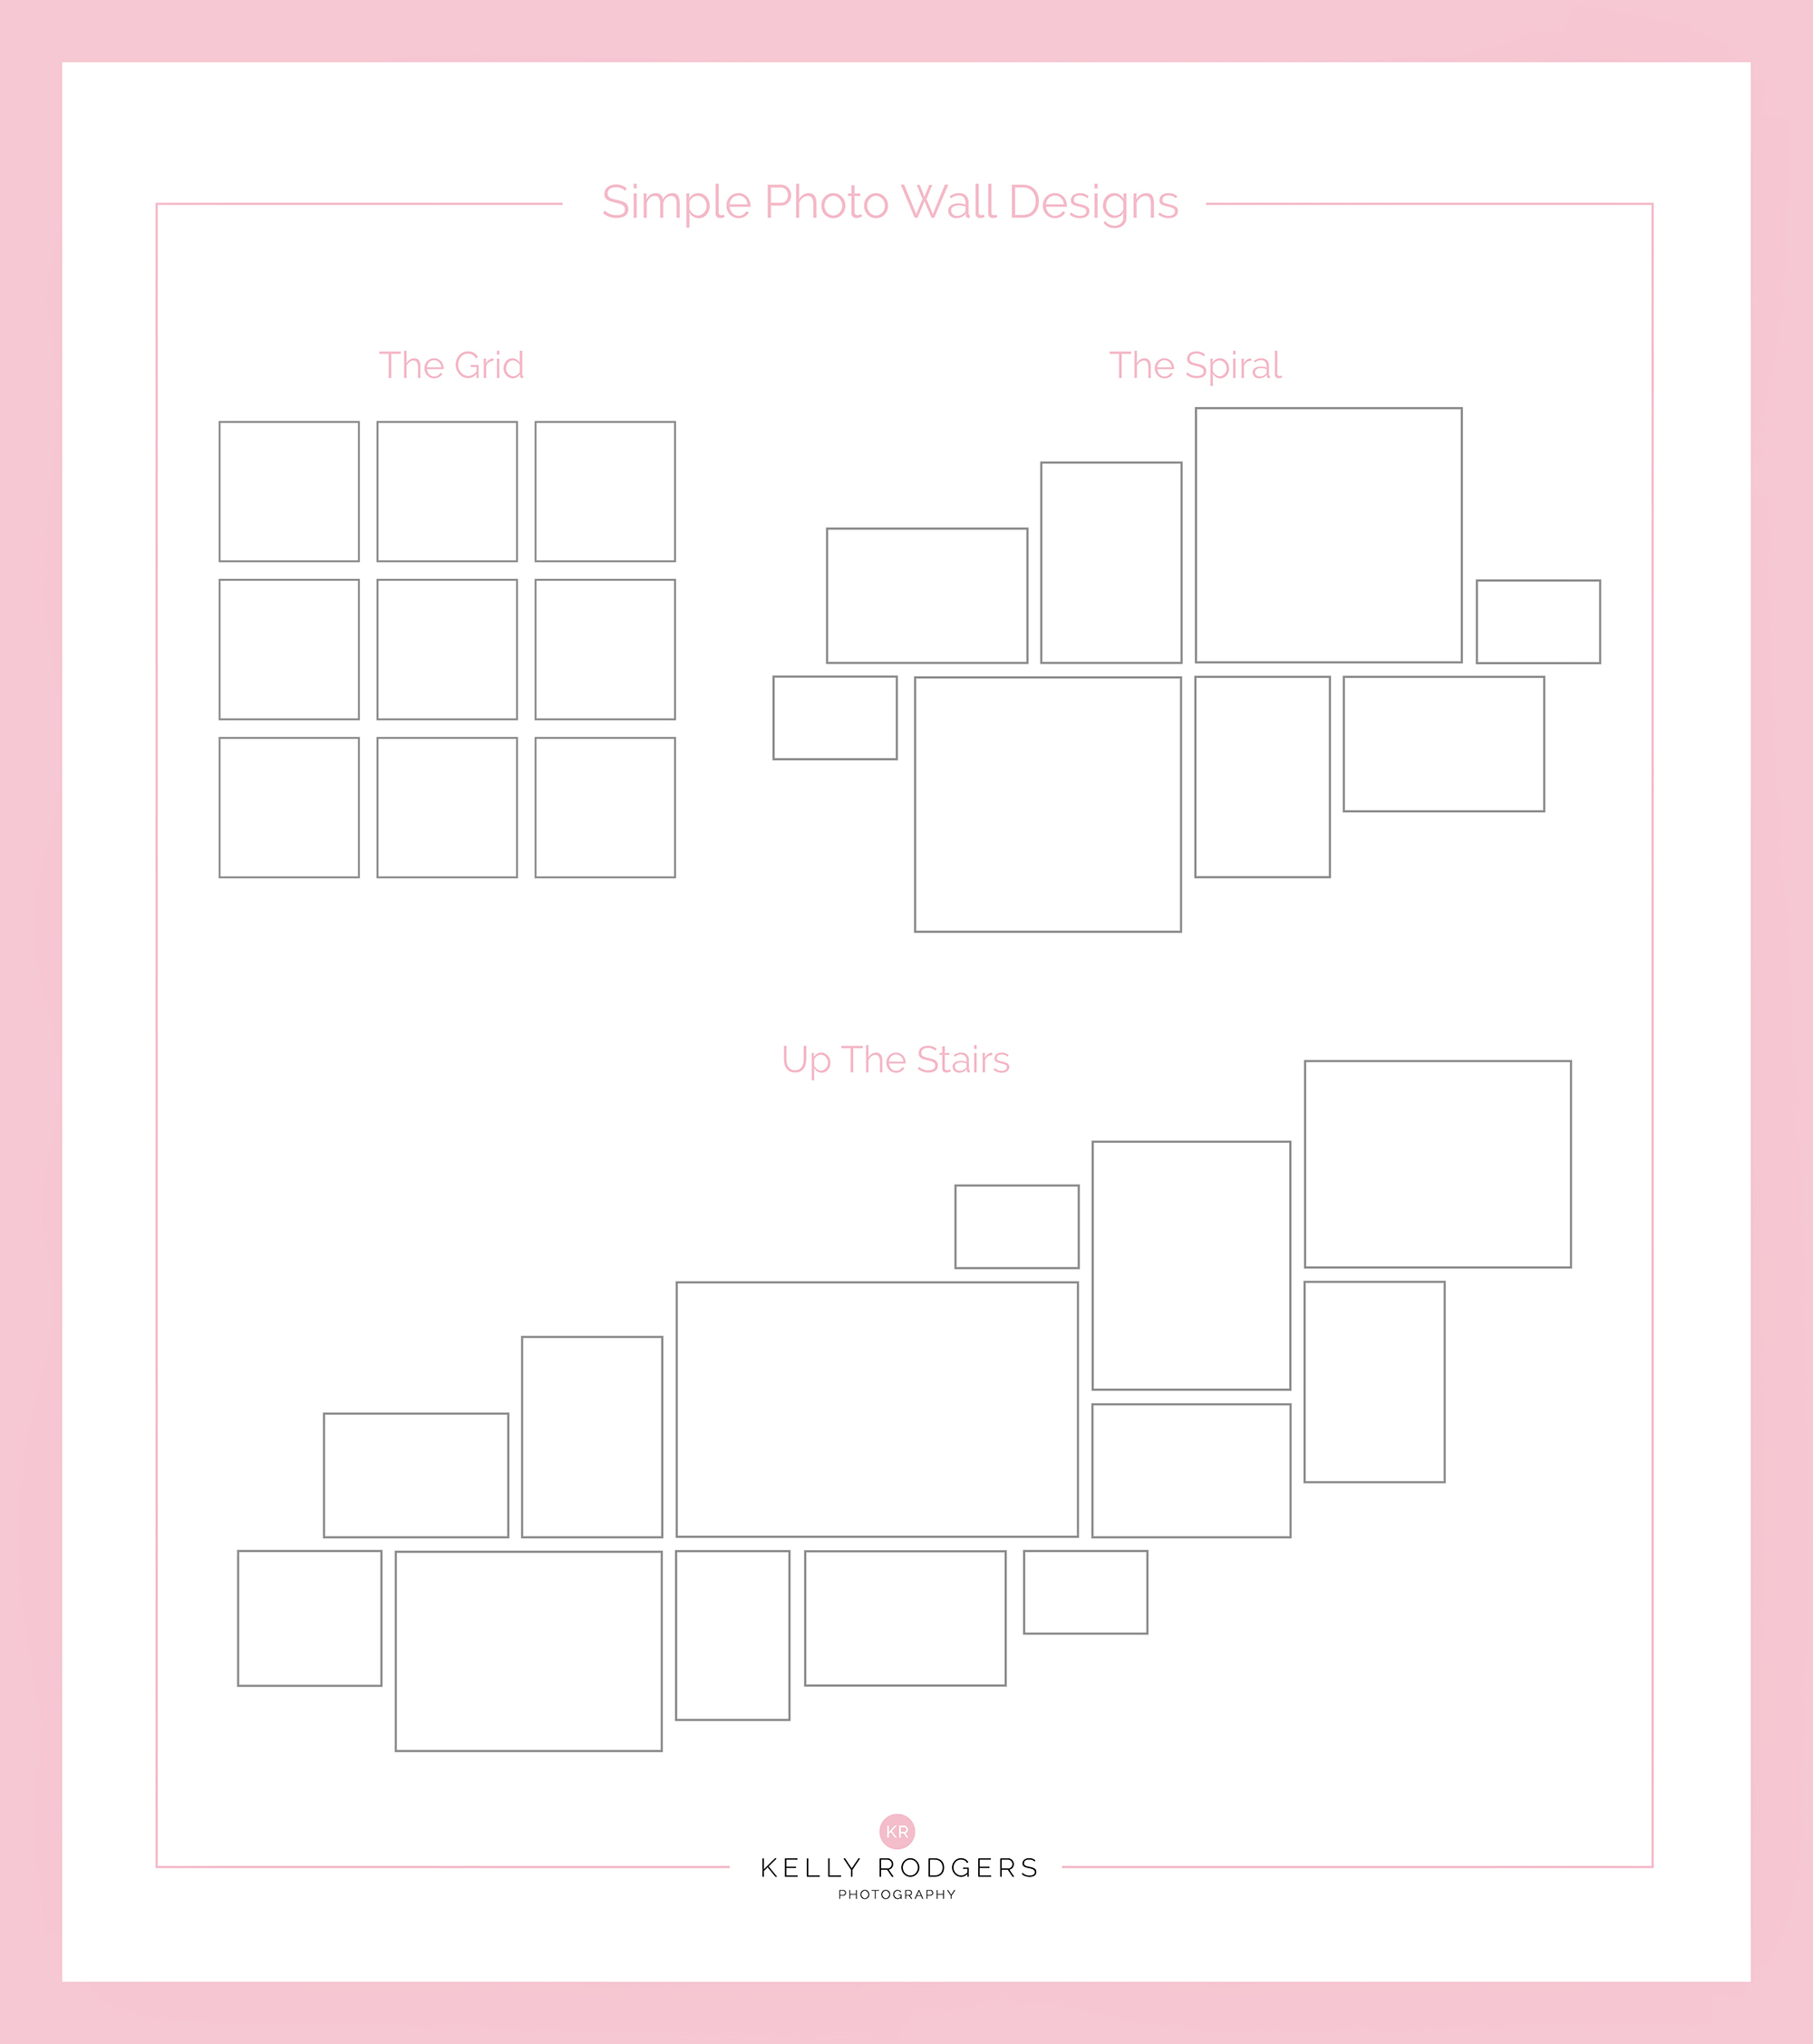
I started in the middle and worked my way out. Take care to balance it. It doesn’t have to be symmetrical, if anything it often looks better if its not. However, if you put a large frame on one side, then balance it out with 2 or 3 small frames the other. Think of it like a seesaw, you don’t want one side to0 heavy as it will pull you over. Think about the space between each one and keep it consistent, you may wish to align the bottom of one with the height of another. It can be useful to draw the design out on a piece of paper before nailing it to the wall. Make sure you use a spirit level and pencil out where it will go.
How to fix them to the wall
I use Command strips to hang my frames. These are amazing and so easy to use. They are not cheap, but I found it so much easier than putting holes in the wall and if you make a mistake, you can peel them off and stick it again. I then used a nail to hang objects like my hearts.
Have Fun
Have fun planning your photo wall. Remember, Pinterest is full of ideas to get you started. To help you out, I have created my own Pinterest board, so take a look.
Need any help? Contact me and I will be happy to assist.

Recent Comments